How to improve image quality of LED displays begins with more than increasing resolution. A sharp picture depends on several connected factors, including pixel pitch, brightness, contrast, color calibration, processing, and viewing distance. One weak setting can damage the entire image. A high-resolution cabinet may still look harsh when its brightness is excessive. Small details matter.
Dr. Raymond M. Soneira, president of DisplayMate Technologies and a respected display-technology analyst, has emphasized, “Image quality depends on far more than resolution.” That principle is especially useful for LED display owners. A real improvement may come from calibrating grayscale, correcting uneven modules, or choosing the right refresh rate for cameras. It may not come from buying a larger screen. Measure the environment first. Test under real lighting.
This guide examines seven practical ways to improve LED display performance. It covers proper pixel-pitch selection, brightness control, color calibration, grayscale accuracy, refresh-rate management, signal processing, and routine maintenance. Each method connects with what viewers actually see: cleaner skin tones, smoother motion, readable text, and fewer distracting seams. The process is not always perfect. Outdoor sunlight changes throughout the day, while indoor cameras can reveal flicker that people barely notice. Some recommendations may also conflict with budget limits or installation conditions. That is normal. Good image quality comes from careful adjustment, repeated testing, and honest evaluation rather than one dramatic upgrade. Small corrections often create the clearest result.
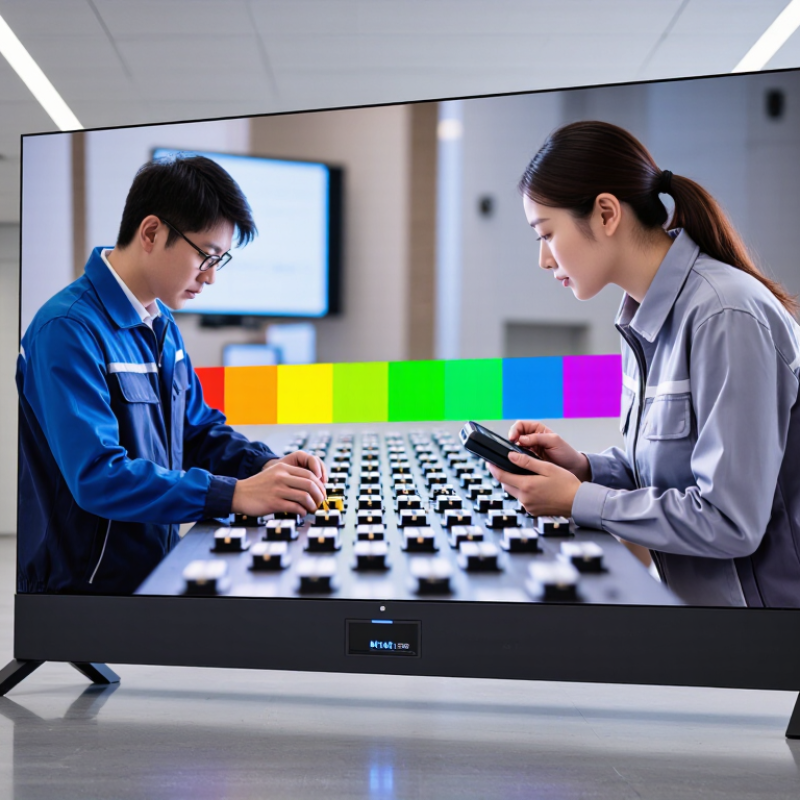
Image quality depends on more than pixel count. Seven practical improvements matter: finer pixel pitch, accurate color calibration, stable brightness, high refresh rate, strong contrast, uniform modules, and suitable viewing distance. Pixel pitch controls visible detail. A 2.5 mm display can look sharp nearby, while a 6 mm display may suit distant roadside viewing.
Brightness must match the environment, not simply reach its maximum. VESA’s DisplayHDR specifications use peak luminance levels, including 400, 600, and 1,000 cd/m² classes. Excessive brightness can wash out dark details and tire viewers. Grayscale performance also matters. ITU-R BT.2020 supports 10-bit and 12-bit signals, reducing visible banding in skies, shadows, and skin tones. High refresh rates help cameras capture cleaner images, especially during live events. However, refresh rate alone cannot fix poor processing or unstable power.
Tips: Measure at the audience position. Calibrate white balance, gamma, and brightness together. Inspect several modules, not one perfect sample. Check images through a camera, because scan lines may appear only on video. A useful field habit is recording the display at different shutter speeds. VESA’s DisplayHDR guidance is valuable, but it is not a guarantee of uniformity. Even carefully calibrated panels drift with heat and age. That uncomfortable detail is easy to ignore. Schedule inspection records, compare module brightness, and replace mismatched parts before viewers notice obvious blocks.
| Way | Key Image-Quality Factor | Recommended Target or Condition | Practical Improvement Action | Expected Image Impact | Important Consideration | |
|---|---|---|---|---|---|---|
| 1 | Choose an Appropriate Pixel Pitch | Pixel pitch and viewing distance | Select a pixel pitch that matches the normal viewing distance and the level of detail required by the content. | Use a finer pixel pitch for close-up viewing and detailed text; use a larger pitch when viewers are farther away. | Sharper detail Reduces visible pixel structure and improves text and fine-edge clarity. |
Pixel pitch is the distance between the centers of two adjacent pixels. A smaller pitch generally provides higher potential detail but may increase cost and power requirements. |
| 2 | Use a Suitable Resolution and Content Source | Native resolution, signal quality, and source scaling | Match the content resolution and aspect ratio to the LED display or use a high-quality processor for scaling. | Create content at the display’s native resolution whenever possible, and avoid repeatedly enlarging low-resolution images. | Cleaner images Minimizes blur, jagged edges, stretching, and unnecessary interpolation. |
A high-resolution display cannot restore detail that was absent from the original source. Image quality depends on both the display and the input signal. |
| 3 | Calibrate Brightness and Contrast | Luminance, contrast, and black-level balance | Set brightness according to ambient light rather than operating continuously at maximum output. | Adjust brightness, contrast, and black levels so dark areas remain visible while highlights retain detail. | Better depth Improves shadow detail, highlight preservation, readability, and visual comfort. |
Excessive brightness can wash out colors, reduce perceived contrast, increase glare, and accelerate component aging. |
| 4 | Perform Color Calibration | White balance, grayscale uniformity, and color consistency | Maintain consistent grayscale tracking and a neutral white point across the complete display. | Calibrate modules and cabinets using measurement equipment, then apply consistent color and grayscale settings. | Natural color Reduces color shifts, gray-scale banding, and visible differences between display sections. |
Calibration should be repeated after component replacement, major repairs, or noticeable changes in color performance. |
| 5 | Improve Refresh Rate and Motion Handling | Refresh rate, scan behavior, and camera compatibility | Use a refresh rate appropriate for the content, viewing environment, and camera-based applications. | Configure the display and control system to reduce flicker, scan lines, ghosting, and motion artifacts. | Smoother motion Produces clearer moving images and more stable footage for broadcast or event recording. |
A higher refresh rate does not automatically improve every image; signal processing, shutter speed, and camera settings also affect recorded results. |
| 6 | Maintain Module and Cabinet Uniformity | Pixel brightness, color uniformity, and flatness | Keep adjacent modules visually consistent and ensure cabinets are correctly aligned and securely installed. | Inspect for dead pixels, brightness differences, loose connections, uneven seams, dust, and mechanical misalignment. | Seamless appearance Prevents patchy areas, visible cabinet lines, uneven brightness, and distracting seams. |
Uniformity problems may result from aging, temperature differences, component variation, installation errors, or inconsistent calibration. |
| 7 | Control Heat, Power, and Operating Conditions | Temperature stability, ventilation, and power consistency | Operate within the manufacturer’s specified temperature, humidity, voltage, and maintenance conditions. | Provide adequate ventilation, keep airflow paths clear, inspect power connections, and schedule preventive maintenance. | Stable performance Helps preserve brightness consistency, color accuracy, reliability, and service life. |
Heat, moisture, unstable power, and blocked ventilation can accelerate degradation and cause temporary or permanent image defects. |
Measure the usual viewing distance in the real installation area. Compare that distance with a calculator and a physical sample. Smaller pixels show finer details. They also increase cost. Do not choose the smallest pitch automatically.
Feed the display its native resolution whenever possible. A mismatched or compressed signal can make fine text look soft. Use a stable processor to reduce scaling artifacts. The signal path matters more than expected.
Use larger fonts when viewers stand farther away. Choose strong contrast and simple shapes. Keep important text away from seams and corners. Tiny details may disappear completely.
Measure the light near the screen before setting brightness. A dim room needs less luminance than a sunlit area. Excessive brightness can cause glare and hide shadow detail. Brighter is not always better.
Reduce reflections with light-blocking curtains and matte surfaces. Check dark scenes with a grayscale test pattern. If near-black steps disappear, adjust black level or gamma. Datasheet contrast may disappoint under direct lighting.
Use a measurement meter instead of relying only on visual judgment. Check white balance and grayscale from low to high brightness. A neutral white point often sits near 6500 K. Wide color coverage does not guarantee accurate images.
Panel temperature can change brightness and color slightly. Let the display warm up before calibration. Then check brightness, grayscale, gamma, and color temperature. Small changes matter.
Inspect cabinet alignment, refresh behavior, dead pixels, and uneven color. Check viewing angles by moving sideways across the room. Repeat measurements during scheduled maintenance. One impressive installation-day result is not enough. I once trusted specifications too quickly. The installed image still looked soft.
How to improve image quality of LED displays begins with understanding how resolution, pixel pitch, viewing distance, brightness, contrast, and color accuracy work together. Select a suitable pixel pitch for the audience’s viewing distance, because finer pitches provide clearer images at close range, while larger pitches may be sufficient for distant viewing. Ensure the display has adequate brightness for its environment without causing glare, and adjust contrast and color balance so images remain vivid, natural, and easy to see under changing lighting conditions.
Regular calibration is also essential for consistent image performance. Fine-tune grayscale, color temperature, brightness, and content settings to match the display’s purpose and surroundings. In addition, inspect and clean LED modules regularly, checking for uneven brightness, damaged pixels, loose connections, or dust buildup. Replacing aging modules, improving processing components, or upgrading related hardware can further restore uniformity and sharpness. Together, these steps create a clearer, more balanced, and longer-lasting LED display experience.

 Xiguang Display